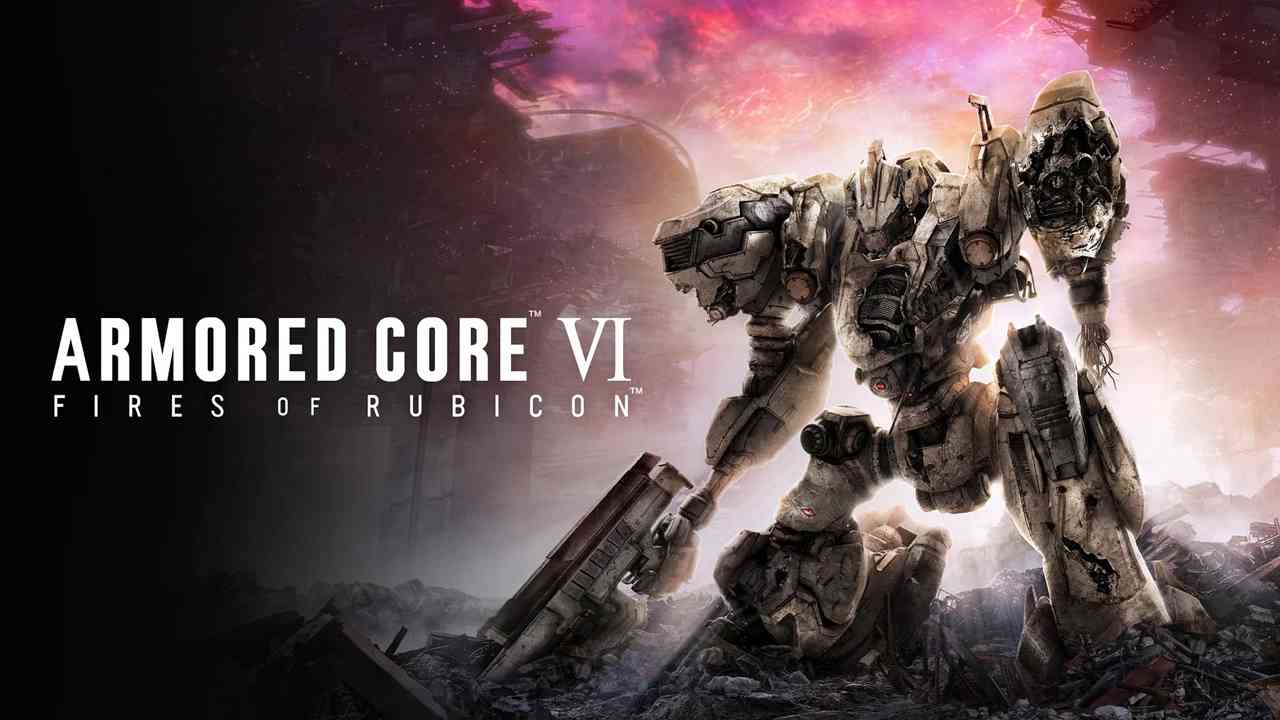
Guide for all Armored Core VI S Ranks. This walkthrough explains how to get all S-Ranks in Armored Core 6 with the easiest strategies.

www.powerpyx.com
- No Checkpoints: Don't restart checkpoints, they void S-Rank. Must finish the mission in one life. You are allowed to use "Restart Mission" without quitting out of the mission.
- Speed: Finish Mission in fastest time possible. This is the most important ranking factor! For example, in Mission 4 I did S-Rank by flying past all enemies and just doing all objectives. Then I ran the same mission again and waited 5 minutes at the start and proceeded to finish the mission with even better payout in the results screen but only got C-Rank. The conclusion is that time alone can lower the rank from S to C even if you do everything else perfectly without taking any damage.
- Damage Taken: This is shown as the "Repair Costs" in the results screen. The lower your repair cost the better. In most missions this seems to have little to no impact on the rank and is far outweighed by getting a faster time. Since you aren't allowed to restart checkpoints you can't take much damage anyway to finish it in one life (using repair kits is fine).
- Ammunition Consumed: This is shown as the "Ammunition Costs" in the results screen. This has little to no impact in most missions and is far outweighed by getting a faster time. It doesn't count how many shots you fired but rather how much the expended ammo costs. You can see the ammo cost for each weapon in the Assembly Menu > open the detailed Arm/Back menu > press
/ to "Toggle Display" > look for "Ammunition Cost" on each weapon. You can also filter weapons by ammo cost per shot used: in the detailed Arm/Back menu press / to "Sort" and select the bottom option "Ammunition Cost". This will show the cheapest per shot at the top. Generally, the ammo cost will come out to about the same regardless of what weapons you use, because weapons with higher cost per shot deal more damage, and weapons with lower cost per shot (such as Gatling Gun) require a lot of ammo for one kill. So it evens out regardless. Just use whatever has the fastest kill speed. Melee weapons don't consume ammo and have no cost associated with them, however they have a cooldown and would increase the time taken to finish the mission. It's generally better to pick whatever has the fastest kill speed (dual-wielding gatling guns is good) and get a faster time to make up for the ammo cost.
- Killing Specific Enemies / other special Conditions: The game doesn't tell you this, but some missions can only be S-ranked if you do optional objectives or kill specific optional enemies that hold Combat Logs. For example, in "Mission 6: Attack the Dam Complex" I ran the mission perfectly and got 183,000 COAM in payout screen but only ever got A-Rank. Then I killed the optional Combat Log enemies but got S-Rank with only 120,000 COAM payout. The conclusion is that some missions cannot be S-Ranked unless you do the "hidden" requirement. Generally, if the mission description says there is bonus pay for certain actions they can be mandatory for S-Rank.
Overall, the game is very intransparent about how it calculates S-Ranks. It doesn't give you any feedback on your time and doesn't show the exact requirements anywhere. It also applies ranks very inconsistently from one mission to the next. Which requirement it puts more weight on changes from mission to mission. Some missions you could run 50 times perfectly but always get A-Rank because you didn't kill one specific enemy somewhere. Another issue is that Combat Log enemies are no longer marked once you've killed them once on a previous playthrough. These enemies aren't always mandatory for S-Ranks but in some missions you will never the S unless you defeat them.
The biggest ranking factor by far is time taken. The payout at the end of the mission generally doesn't seem to have huge impact. I often got S Ranks with vastly lower payout (e.g. 120k got me S-Rank but 180k would get me A-Rank), but just being faster or doing optional objectives and killing all enemies. Each mission is a case of trial and error.