-
Hey, guest user. Hope you're enjoying NeoGAF! Have you considered registering for an account? Come join us and add your take to the daily discourse.
You are using an out of date browser. It may not display this or other websites correctly.
You should upgrade or use an alternative browser.
You should upgrade or use an alternative browser.
NeoGAF OCTOBER 2012 Pick-Up Post!! Show Us Your Gaming Goods (Real pics or BAN!)!
- Thread starter MarkMan
- Start date
To those of you looking for the Totoro figure I got, I found it available online:
http://www.anime-gift.com/figures-and-statues/-5-inches-figures/totoro-figure-tofg8890.html
I actually bought mine from a comic book store.
And ET Bluray Steelbook came from Target.
http://www.anime-gift.com/figures-and-statues/-5-inches-figures/totoro-figure-tofg8890.html
I actually bought mine from a comic book store.
And ET Bluray Steelbook came from Target.
Vipershark
Member
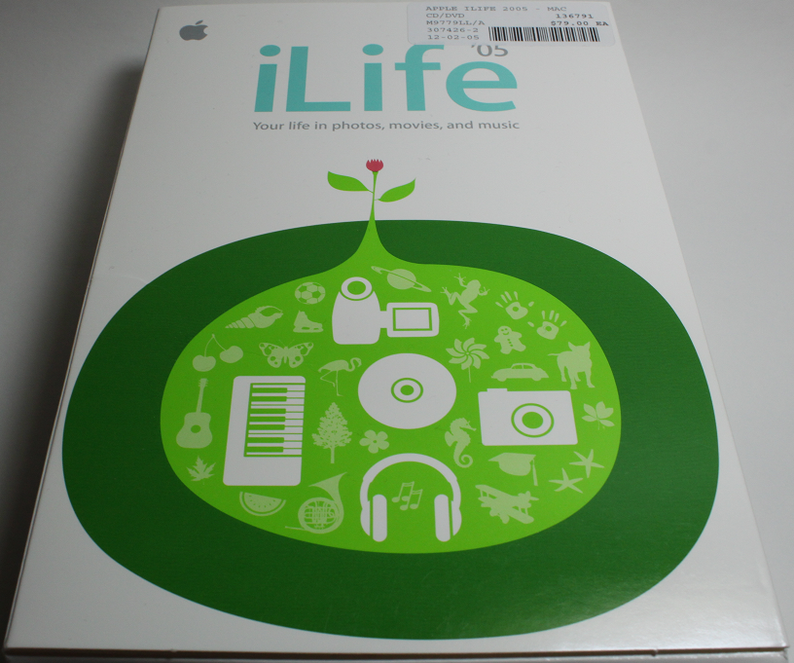
Picked up a copy of iLife '05 for the Mac (so I can use GarageBand)
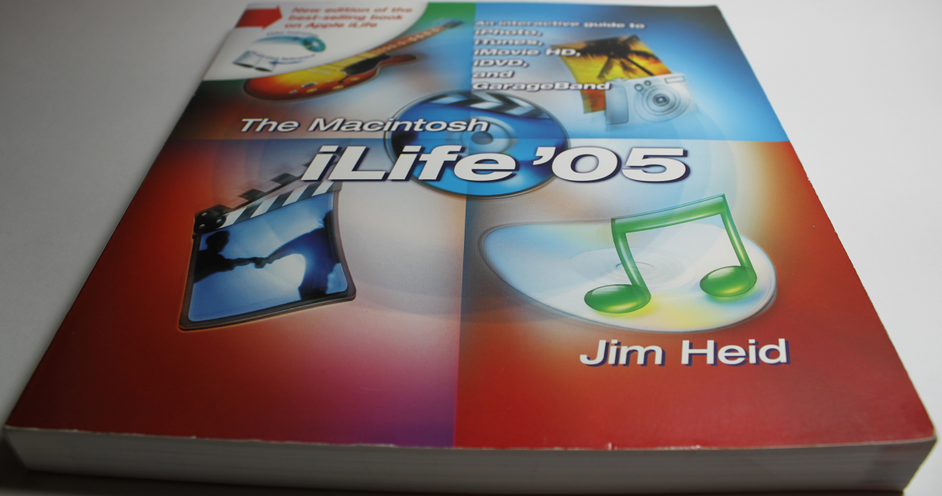
And some relevant literature. This was like, a dollar, so...
Then I went and got my keyboard and my midi cable, and...
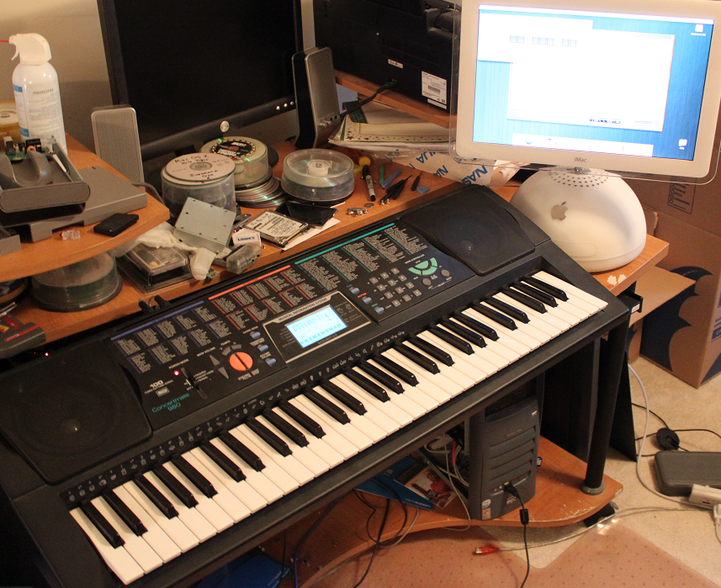
Yeah.
Keep us updated on this, seriously.Vipershark said:Knowing that it didn't have water damage, I decided to try plugging it in and turning it on. I grabbed a charger that would fit, plugged it in, powered it up, and,
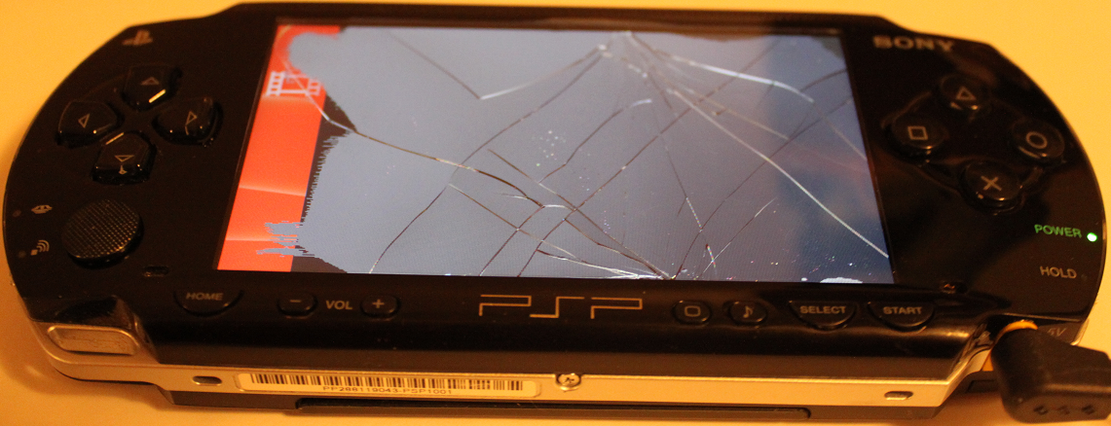
Well, now I see why it was listed as broken.
The outer glass showed no signs of cracks or breakage, but as you can see the LCD panel itself is cracked and destroyed. (The gray and black areas are where it's broken, if you somehow can't tell.)
I popped in my copy of Wipeout Pure which loaded and ran and played just fine (I had to navigate the menus using only that tiny area of screen to the left, ahaha) but obviously I couldn't see anything.
Will do!
My PSP screen came in the mail.
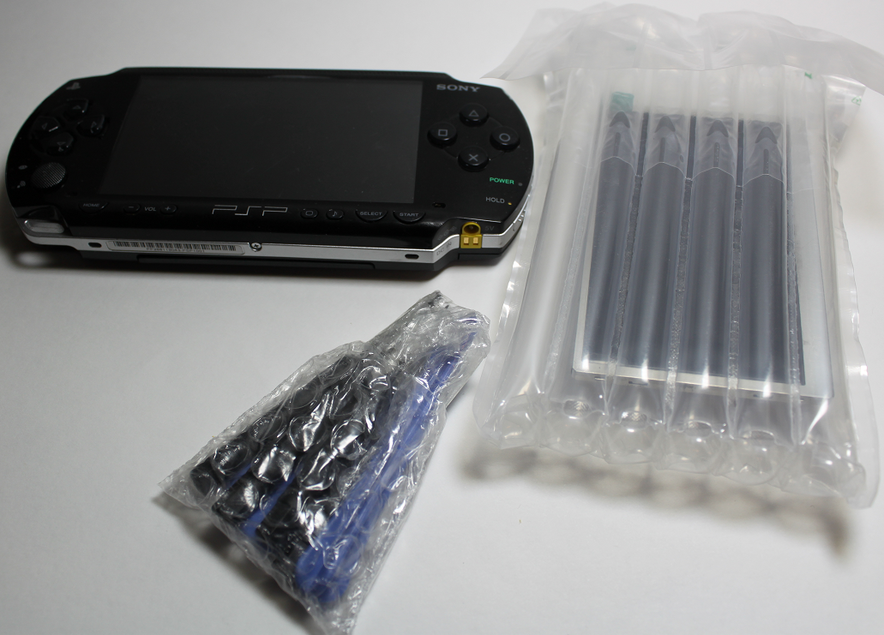
Included in the package were the screen and some tools.
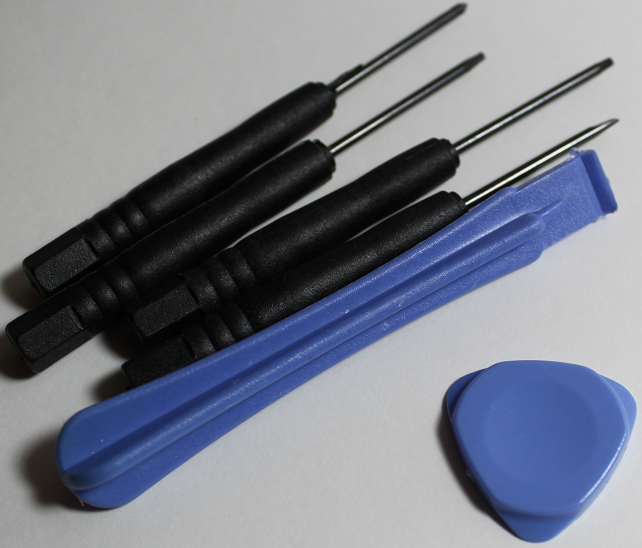
All of these tools were completely useless aside from the guitar-pick thing and it turns out I didn't even need it. None of the screwdrivers actually fit anything and the plastic opening tool just chipped and broke because it was made out of of cheap plastic. The guitar pick thing worked well at opening the battery, (I thought the battery had been Pandora'ed or something because it was cut open and the PSP wouldn't recognize it; turns out it's a battery for a PSP Slim, which the Phat doesn't accept.) but I didn't need it.
I just used my precision screwdriver set and used a tiny flathead in place of the opening tool. In other words, don't bother with cheapo chinese tools. Use your own.
So let's go through the process of opening the PSP, shall we?
I hope this is okay to post in here. If the mods think this is too big or something, feel free to edit it out.
After consulting multiple guides online (both in picture and video form) they all agreed that you need to remove 5 screws to open the PSP. Turns out you need to remove 6, but all of the guides fail to mention removing the screw on the bottom for some reason. I guess it's kind of a given considering that it's in such an obvious location, but whatever.
The last of the screws to remove is here, under the warranty sticker. If the sticker is damaged or removed the warranty is voided but lol at this thing having a warranty.
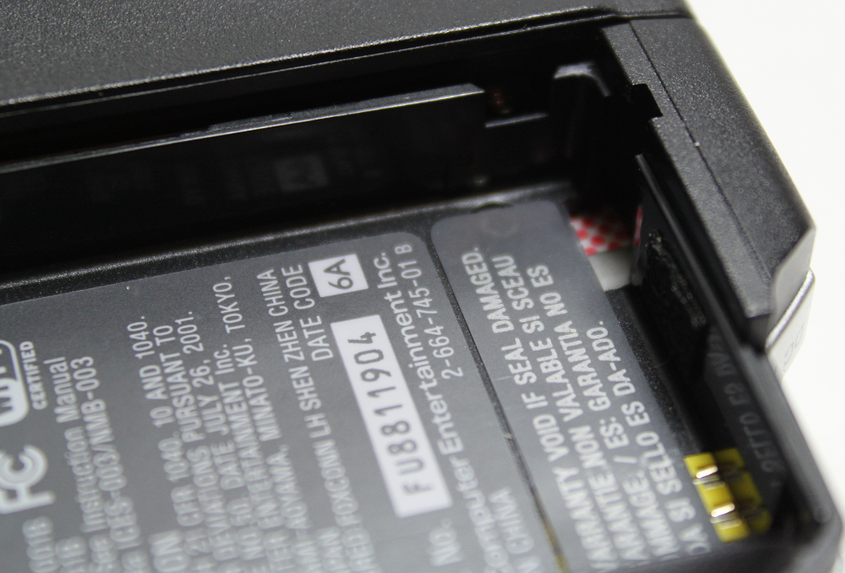
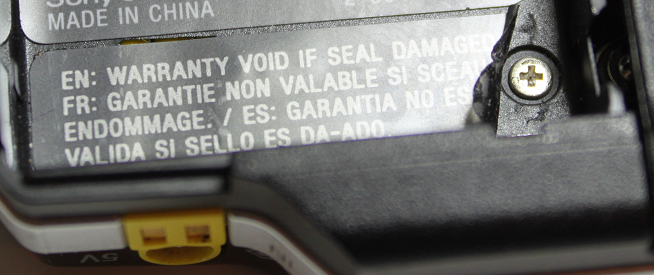
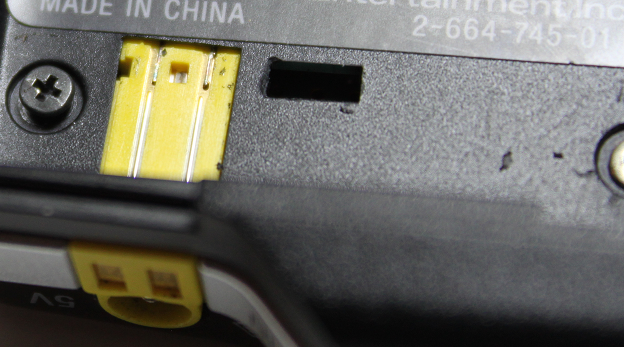
All of the guides agreed that the screw that needs to be removed is the one on the right of the battery compartment, which you can just barely see poking out from under the sticker above.
After removing that screw and spending about 15 minutes trying to figure out why the faceplate still wasn't coming off (and nearly snapping the faceplate in half in the process), it turns out that THAT'S NOT EVEN THE CORRECT SCREW.
The screw you need to remove is the one on the left. Not on the right. The screw on the right doesn't even need to be removed at all.
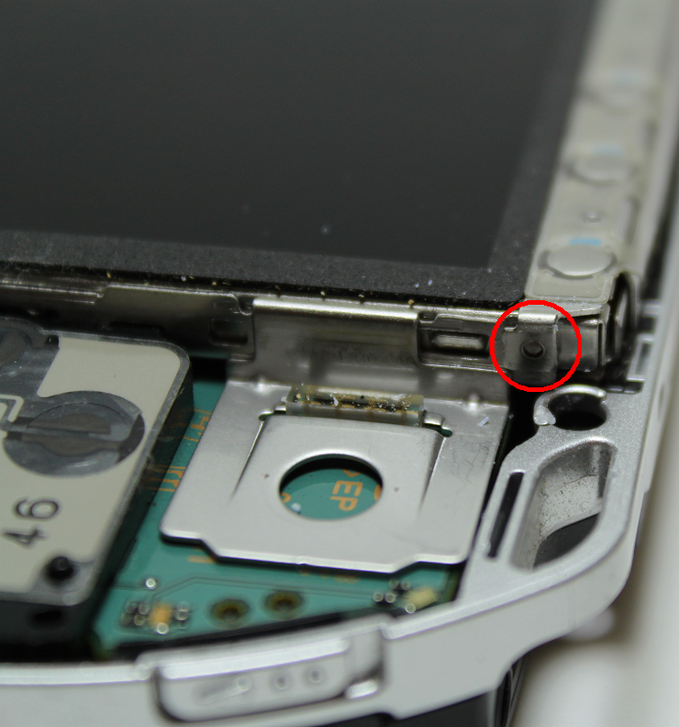
Once the faceplate is off, you have to remove the button strip under the screen. This thing is really annoying to get off. You have to jam a screwdriver under the clip until it pops off the little circular nub pictured.
Once that's off, you have to remove the screen in pretty much the same way. This is even more annoying.
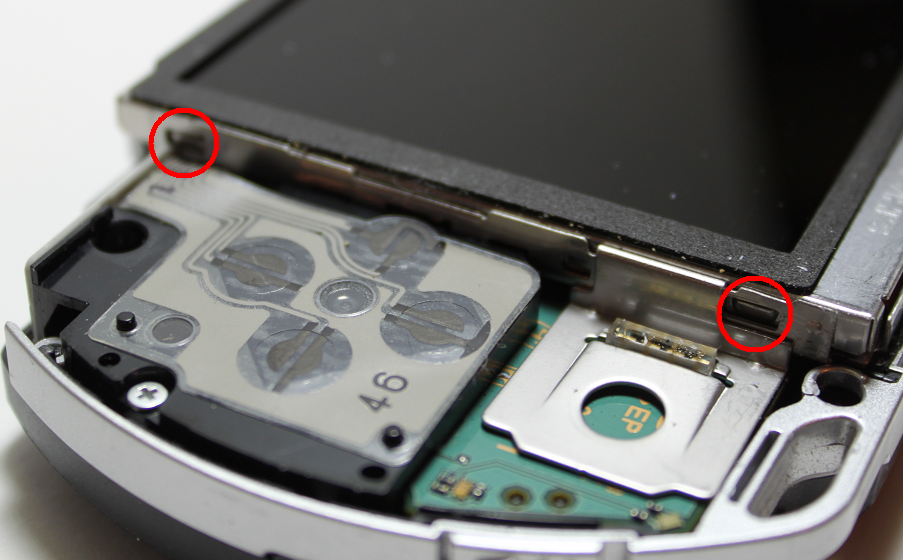
There are four clips, two on each side of the screen.
Once the screen is off the clips, it folds down to reveal the connection points.
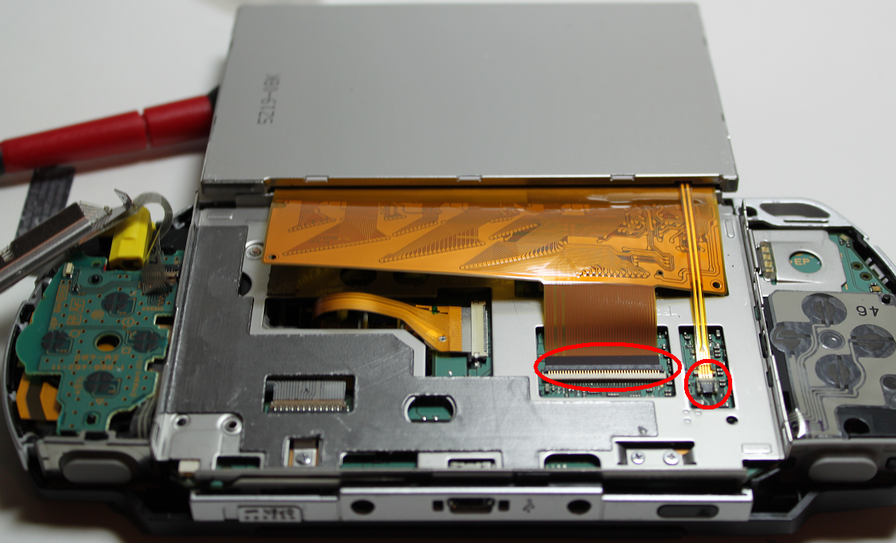
Be really careful in unhooking the screen. You don't want to break the ribbon cables.
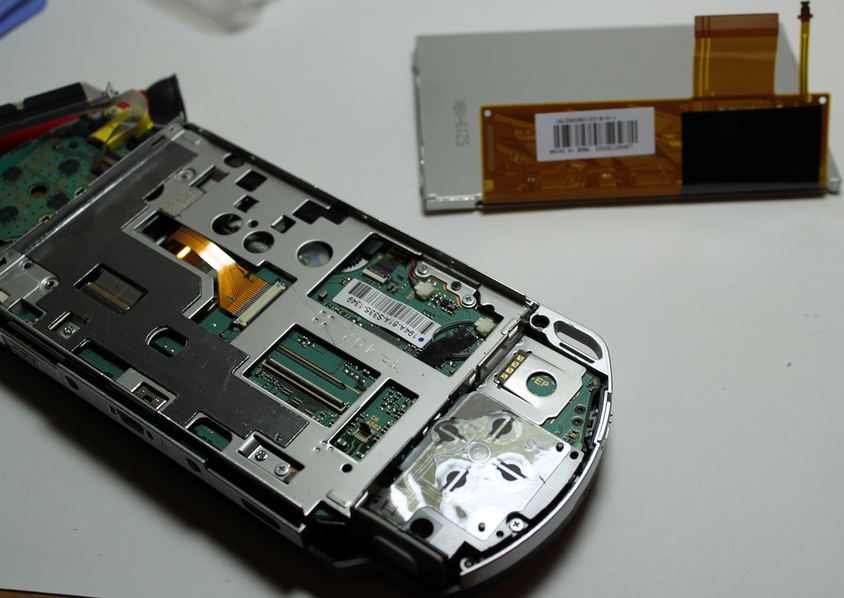
Screen removed.
At this point I put on some latex gloves so that I wouldn't get fingerprints on the new screen.


Comparison shots. Old on the right, new on the left.
Installing the new screen is MUCH easier than removing the old one. You simply do everything you just did in reverse. Putting the clips back on is far easier than popping them off.
I popped the screen in and plugged in the PSP to test it.
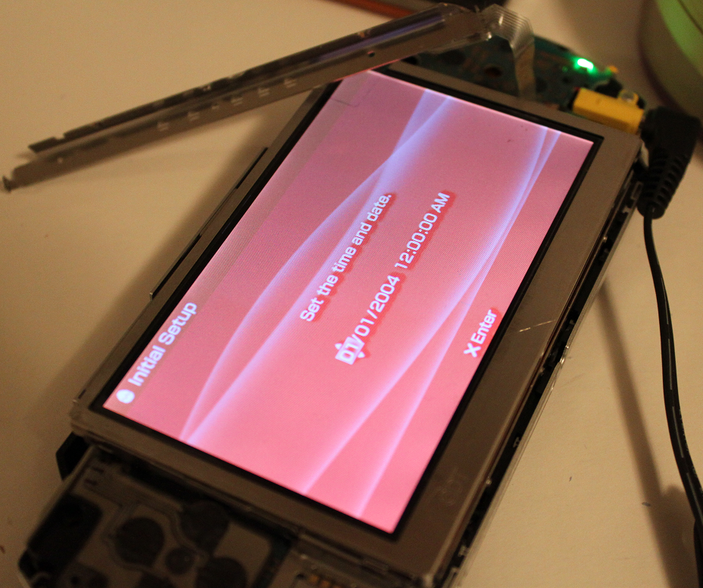
It works! The plastic film cover is still on the LCD at this point so it looks a little blurry.
So I popped everything back together and put in a game to test, and,
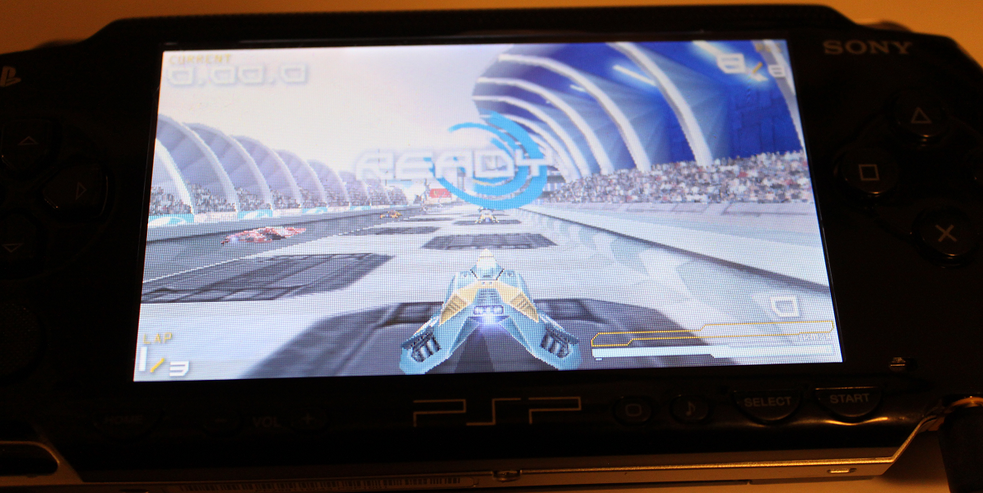
YEAH! It works perfectly!
The only problem I have is that the faceplate itself is really scratched and scuffed, which makes it look as though the LCD is messed up (it isn't).
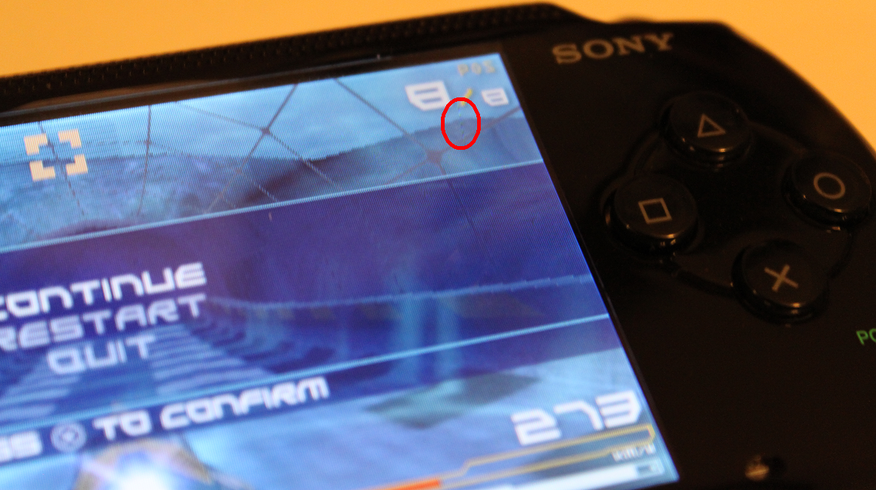
Note the line of different colored pixels inside the circle; that's a scratch. These are all over the screen.
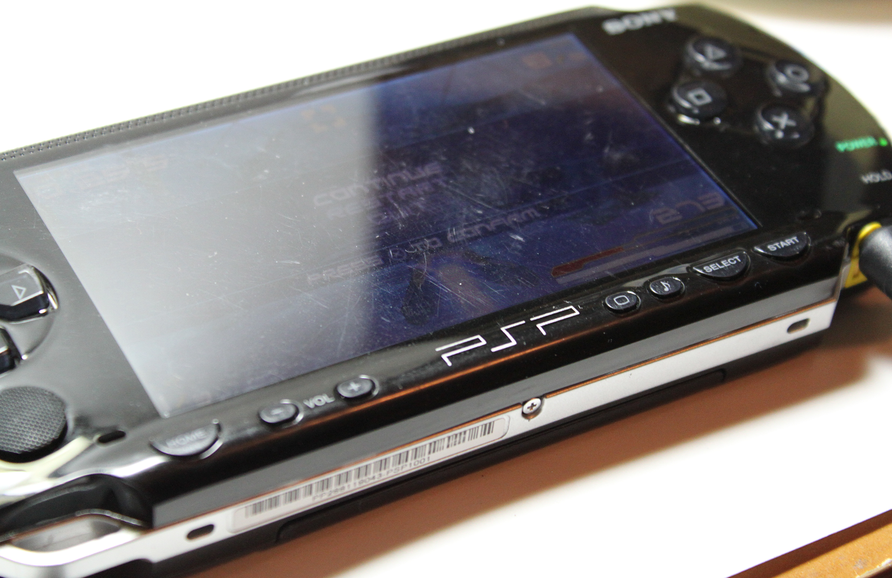
Picture with the lights on so you can see the scratches better.
I wonder if there's any way to buff these out?
After that, I grabbed a memory card out of my old camera (they're both Sony so they use the same card) and loaded up some songs and stuff on it to make sure it worked. It did.
I tested all of the buttons and the Wi-Fi and everything and they all work. The only thing I couldn't do was update the PSP's firmware because for some reason updating the firmware requires you to have a battery in the system, and because the Slim battery that it came with isn't supported, there was nothing I could do.
So I ordered a new battery and power cord. They'll be here soon.
Before:

After:

CrashPrime
Member
My PSP screen came in the mail.
MacGyver.jpg's
Before:

After:


So what did the screen cost you? Could someone replace a PSP1000 screen with a PSP3000 screen this way, to get the upgraded screen without having to buy a whole new setup?
Before:

After:


Thanks for the update! That's awesome.
I like seeing and reading about fixes like that.

Shaun of the Dead print from NYCC.
Is this available any other way?
Vipershark
Member
So what did the screen cost you? Could someone replace a PSP1000 screen with a PSP3000 screen this way, to get the upgraded screen without having to buy a whole new setup?
The screen was about 10 bucks or so, if I remember correctly.
The PSP-3000 (and I'm assuming 2000 as well) screen has a different ribbon cable and is incompatible with the 1000. So no, it can't be upgraded. Perhaps if there was a 3rd party screen that was 3000 quality with the 1000 cable then it'd probably work, but I don't think such a thing exists.
Thanks for the update! That's awesome.
I like seeing and reading about fixes like that.
Agreed. That was very cool, thanks for sharing that and nicely done. Guessing we will be seeing a new faceplate posted in this topic by you soon eh? I always meant to pick one up myself, new buttons / dpad / and faceplate but never got around to it all.
vitaminwateryum
corporate swill
Is this available any other way?
It may be on Mondo at some point, but for the time being, your best bet is Ebay.
Hazelhurst
Member
And ET Bluray Steelbook came from Target.
Cool, thanks. Wow, didn't know Target had steelbooks. I'll check mine out.
Trancetronic
Member
models and junk
nycc stuff/nyc stuff
Bought the sony 3D display for like 150 at bestbuy. my birthday was this month so it's been pretty good for me. quoted everything so pictures won't take up space.
nycc stuff/nyc stuff
Bought the sony 3D display for like 150 at bestbuy. my birthday was this month so it's been pretty good for me. quoted everything so pictures won't take up space.
iworkatjunes
Banned
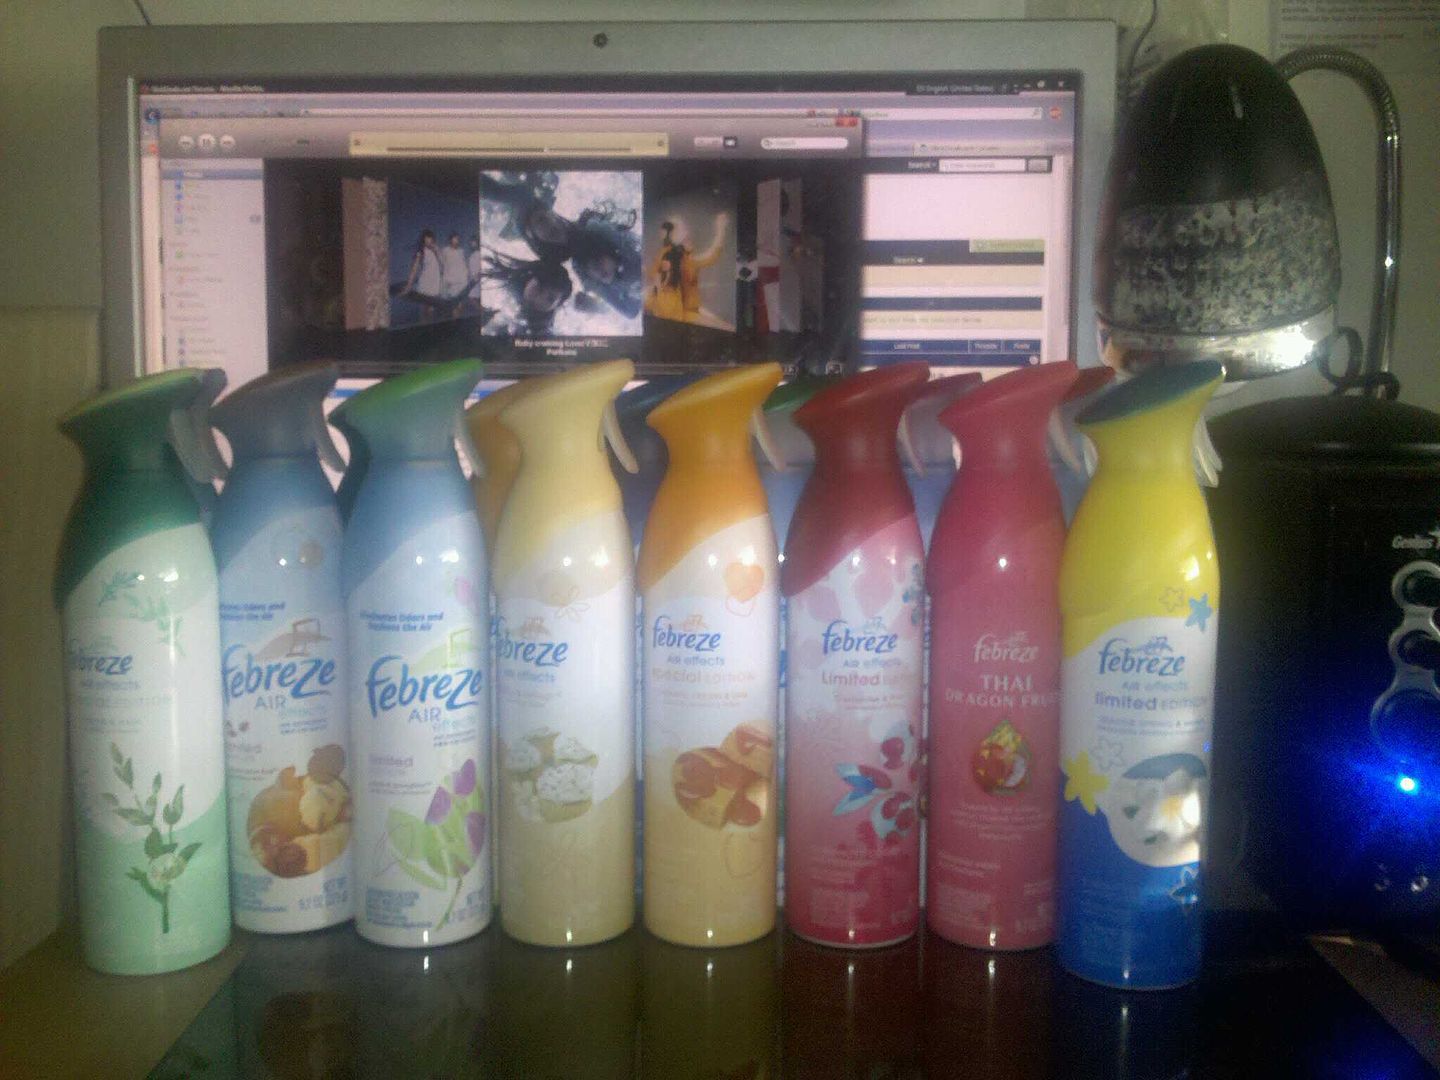
I love febreze. Use it as ant spray.
twentytwo22
Member
Zero no Kiseki Evolution (chara-ani super box with game, pouch, cleaner, drama cd, and soundtrack selection. Also came with a file.)


So much gaming goodness. Awww yeah!
How did you get Forza Horizon? I hit up EB and JB but its not out until the 23rd.

I love febreze. Use it as ant spray.
You plan to put the ants into a tropical coma?
Congrats!Before:

After:


I have a fat PSP as well, and it's full of scratches on the faceplate; too bad, because the screen itself is perfect.
Then I noticed a couple of scratches on my Vita... now this is driving me crazy.
CaseyTappy
Member
DDP Dai Ou Jou Black Label for PGM2? SO jelly.
No , it's a PGM1 conversion !
Super plays :

Iacobellis
Junior Member
Vipershark, may I borrow your time machine so I can also travel back to 2005?
CambriaRising
Member
Picked up Pokemon Black 2 yesterday while shopping for some baby stuff:

I'm playing it on a DSi instead of the 3ds because Ds games look crappy on the 3ds and the screens are smaller. Pm me if you want to exchange friend codes or something. I'm loving it so far.

I'm playing it on a DSi instead of the 3ds because Ds games look crappy on the 3ds and the screens are smaller. Pm me if you want to exchange friend codes or something. I'm loving it so far.
Lucent
Member
Before:

After:


I had to do that for my PSP1000, too. The screen itself wasn't cracked. It just didn't want to do anything. So I replaced the screen the same way you did. I bought a tool from Home Depot though.lol
Zero no Kiseki Evolution (chara-ani super box with game, pouch, cleaner, drama cd, and soundtrack selection. Also came with a file.)

So nice! I hope we get to play this in English one day...
NekoToshiro
Member

I love febreze. Use it as ant spray.
I love febreze too. But sadly I'm down to like 3 out of the 8 bottles of febreze I had.
Is that 16 bottles of febreze?
I'm pondering between getting this from Club Nintendo or the huge Mario Statue, I guess this looks less... nerdy.
EDIT: No wait, they're gone from the catalog. Shit.
CoachKevin
Member
FairXchange
Member
To the poster who replaced the PSP screen and now asking about the scuffs on the plastic outer layer. I replaced my PSPs entire outer shell, you eventually disassemble the entire PSP then reassemble it in the new shell. If you want to try, maybe buy just the faceplate on ebay and try to connect just that to the PSP rather than replacing the whole thing.
I had scratches on my outer screen too, that's how I fixed the problem and it looked great.
I had scratches on my outer screen too, that's how I fixed the problem and it looked great.
JustAnotherOtaku
Member
Quick and dirty pic, but bought a new PC which arrived the other day. i5 3550, AMD Radeon HD 7770, 16GB RAM, 500GB HDD. Finally joined the PC Master Race and couldn't be happier! 
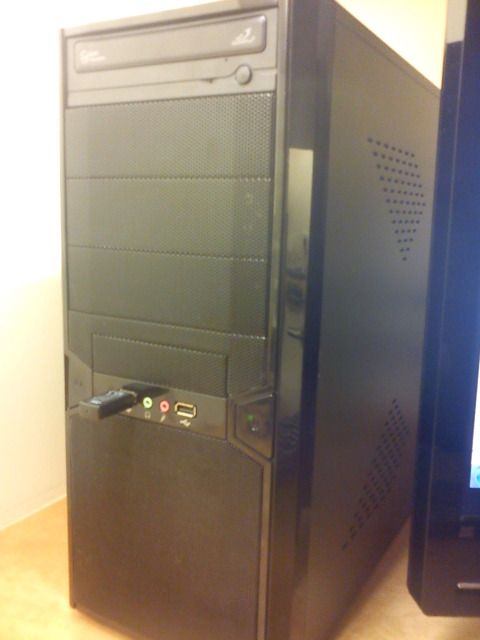

Quick and dirty pic, but bought a new PC which arrived the other day. i5 3550, AMD Radeon HD 7770, 16GB RAM, 500GB HDD. Finally joined the PC Master Race and couldn't be happier!

Pre-built? Should have asked us first could have built you one for cheaper, with better performance, and higher quality parts.
I think what you meant to say was: "Congratulations on the pick-up! If in the future, you feel like building one, we'll be more than glad to help you out!"
Ya! Of course that's what I meant. Sometimes it just comes out wrong.
()_listerfeend_()
Member
Per built? Should have asked us first could have built you one for cheaper, with better performance, and higher quality parts.
I think what you meant to say was: "Congratulations on the pick-up! If in the future, you feel like building one, we'll be more than glad to help you out!"
Vipershark
Member

#CerealSwag
#HalloweenCereal
#YOLO

#CerealSwag
#HalloweenCereal
#YOLO
That is goddamn amazing.
Last Baron
Member
#CerealSwag
#HalloweenCereal
#YOLO
They do exist! I can't find them at all now that I'm looking for them.
Ninja Scooter
Member
They do exist! I can't find them at all now that I'm looking for them.
Target and WalMart have had them pretty regularly for the last couple of years.
It's bullshit, since up until a couple of years ago Count Chocula was available year round. Best cereal is the best.Target and WalMart have had them pretty regularly for the last couple of years.
Rygar 8 Bit
Jaguar 64-bit
It's bullshit, since up until a couple of years ago Count Chocula was available year round. Best cereal is the best.
it is here in southern california everywhere ive been to down here has it year round
AdmiralSnackbar
Member
Picked up a 3DSXL, KH DD, an White 2
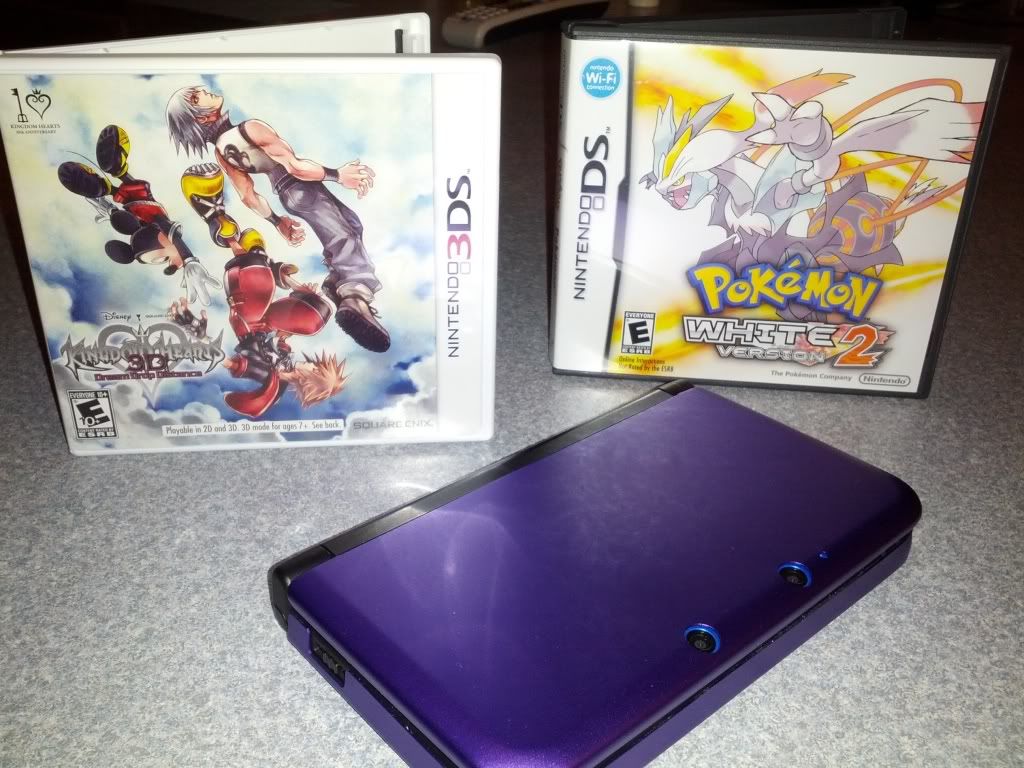
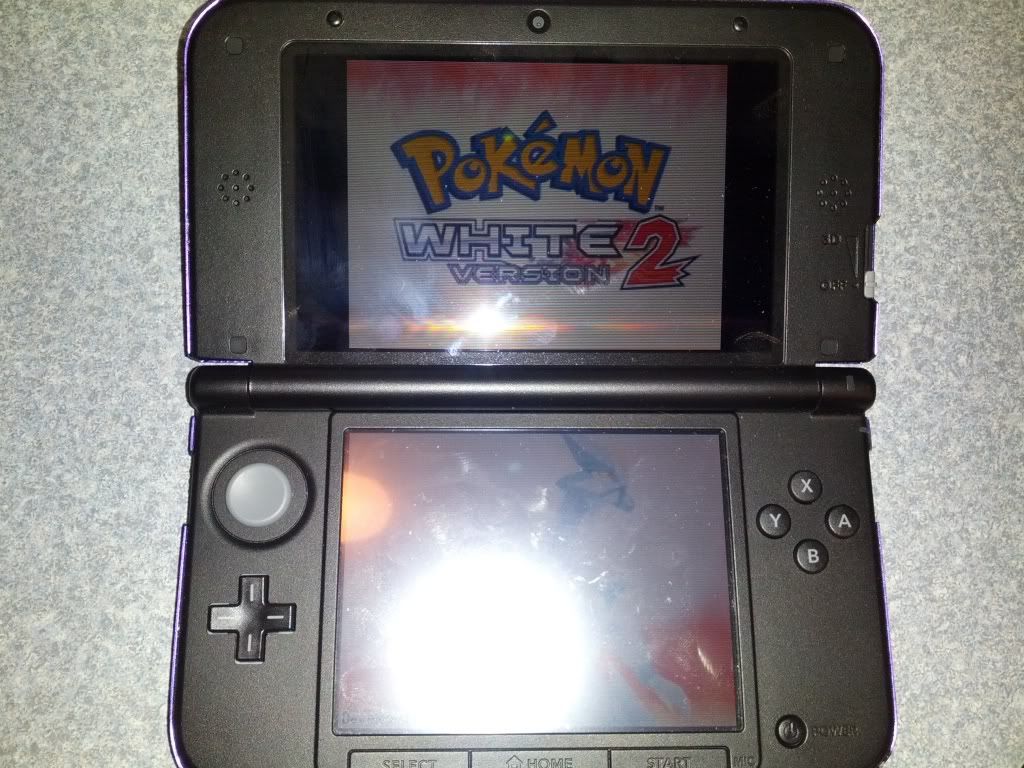
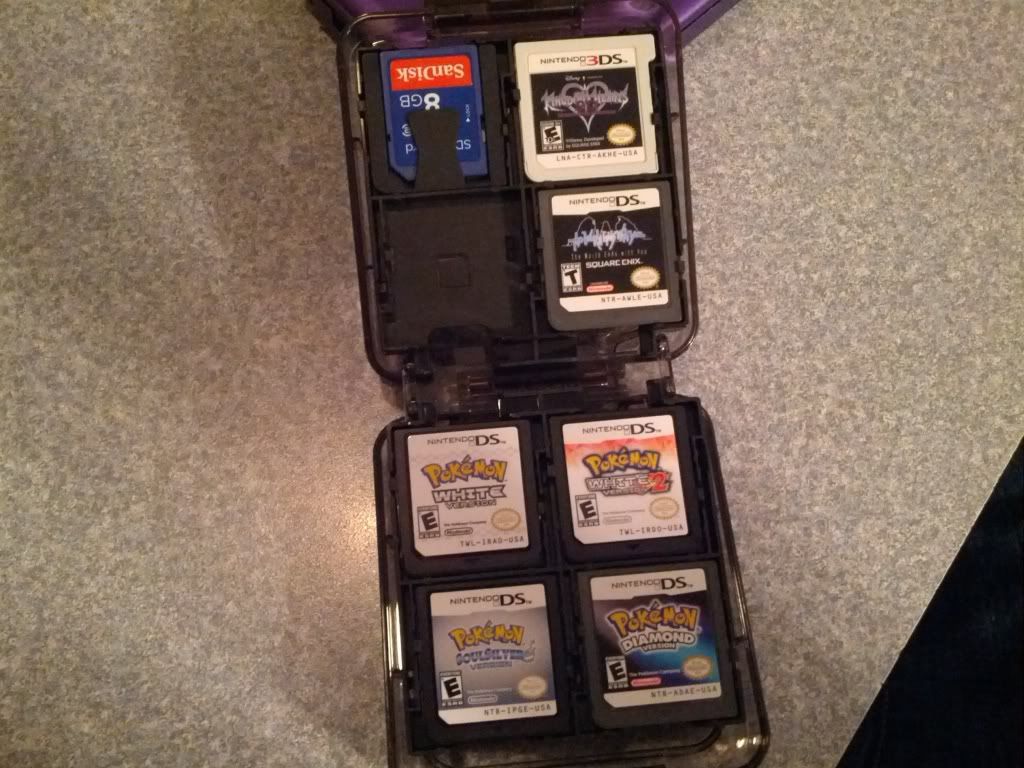
This case promised to hold 16 3DS games but only 8 slots can fit a 3DS cartridge
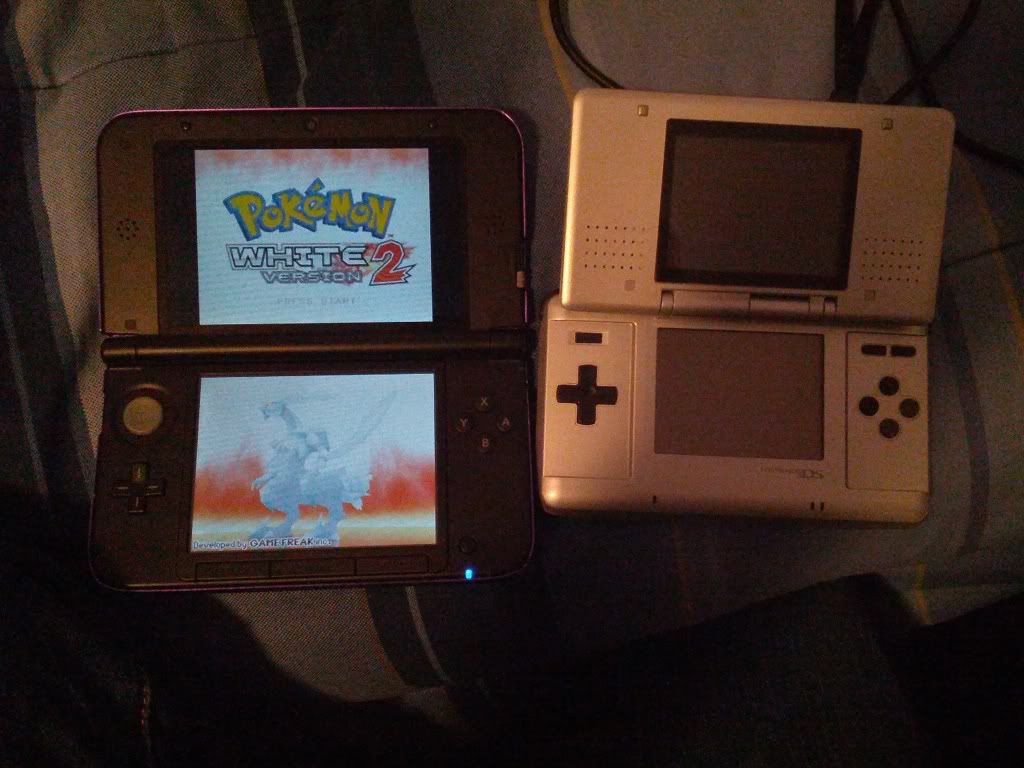
I was due for an upgrade.


This case promised to hold 16 3DS games but only 8 slots can fit a 3DS cartridge

I was due for an upgrade.

No , it's a PGM1 conversion !
Super plays :

Oh yeah now that you mention it, I do remember reading about it on shmups forum. It was Vanilla DOJ that got a PGM2 release in Chinese, according to a quick googling.
grap3fruitman
Banned

Thinking about giving him green eyes...
elementalsin
Member
Not much this month.
This looks interesting... is it an app only for that specific receiver? or a universal? do tell good sir!
Nice! Welcome to the master race. That harddrive is gonna fill up really quickly though, and you'll find yourself trying to upgrade parts in no time lol. It's a joyous feeling.Quick and dirty pic, but bought a new PC which arrived the other day. i5 3550, AMD Radeon HD 7770, 16GB RAM, 500GB HDD. Finally joined the PC Master Race and couldn't be happier!

#CerealSwag
#HalloweenCereal
#YOLO
they still sell them? or is this limited?
JustAnotherOtaku
Member
I think what you meant to say was: "Congratulations on the pick-up! If in the future, you feel like building one, we'll be more than glad to help you out!"
It's all good, I know what he meant
JustAnotherOtaku
Member
Nice! Welcome to the master race. That harddrive is gonna fill up really quickly though, and you'll find yourself trying to upgrade parts in no time lol. It's a joyous feeling.
Thanks!


